VPN

Overview
RIT offers a Virtual Private Network (VPN) service in the case where you need to connect to RIT's network to access File Shares and Software Licensing (but not just limited to those services, there may be others that require VPN). Here you'll find the steps on how to use the VPN on either an CET owned computer or via your personal computer.
Getting Connected
- Ensure that your computer is connected to the internet before proceeding, utilizing the VPN requires that you have a working internet connection.
- If you're looking to VPN from a personal computer, you'll need to go to, download, and install the Cisco Secure Client software from vpn.rit.edu. The application is the same as what CET owned laptops will already have pre-installed for you, so the following steps are for any computer that has the Cisco Secure Client on it whether it be personally owned or CET owned
- To utilize the VPN, you'll need to Launch the Cisco Secure Client and then:
Windows
- Open Cisco Secure Client from your Start Menu
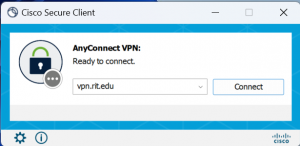
- Once launched, you should see:
- If your Server name field does not have vpn.rit.edu pre-populated, type that in that field now.
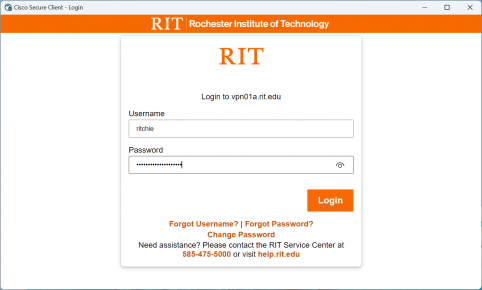
- Once you do that, click connect, you will be prompted with an RIT login window. Here you'll enter your RIT computer account username and password and then will authenticate with Duo.
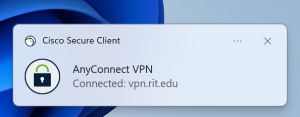
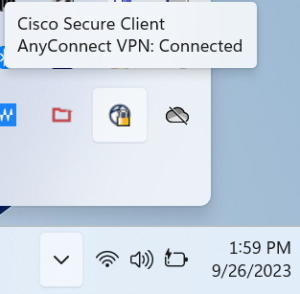
- You should now be connected, you'll receive a bubble notification stating that you're connected. You can also confirm your connection status by hovering your cursor over the Cisco Secure Client icon in your Windows system tray or by double-clicking on said icon
macOS
- Open Cisco Secure Client from your Applications folder or search for it using Spotlight
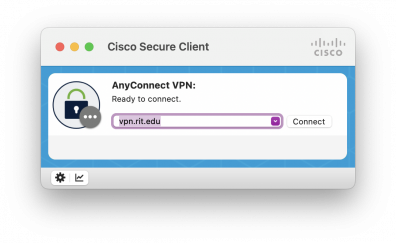
- Once launched, you should see:
- If your Server name field does not have vpn.rit.edu pre-populated, type that in that field now.
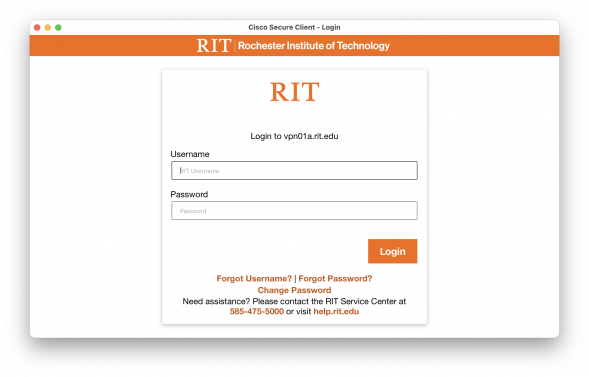
- Once you do that, click connect, you will be prompted with an RIT login window. Here you'll enter your RIT computer account username and password and then will authenticate with Duo.
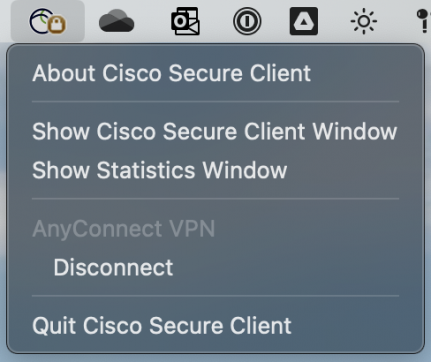
- You should now be connected, you'll receive a bubble notification stating that you're connected. You can also confirm your connection status by hovering your cursor over the Cisco Secure Client icon in your Windows system tray or by double-clicking on said icon.

