PCard Monthly Certification Process using Adobe Sign
Preparing your receipts, Statement and Certification Form
If you are comfortable combining all receipts, statements and forms required skip ahead to Preparing form in Adobe Sign for signatures
1. Gather your receipts electronically by scanning them into pdf form, or downloading them from vendor sites, or printing the email as a pdf, etc.
2. Download your PNC procard monthly statement and the transaction log if you include that normally for the monthly certification.
3. Combine all receipts, statements, and the PNC ProCard Monthly Certification form itself into one pdf file. *This part is very subjective, you may do this however you normally have but its easiest to have everything including the certification form combined into one file.
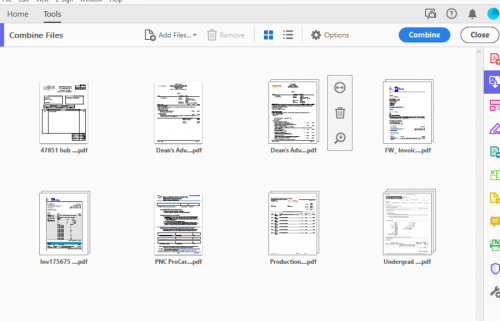
Suggested way – put all the files in one folder and select them all, right click and choose combine files in Acrobat.
4. Acrobat will open and then click Combine to finish the process
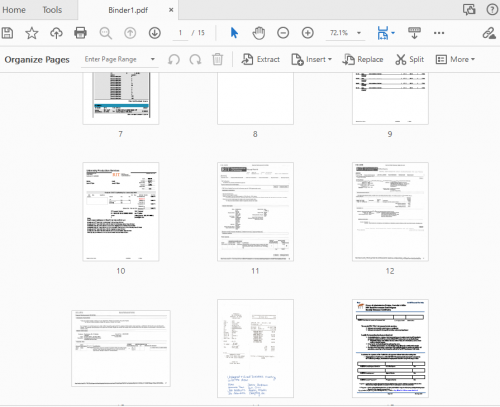
5. Click Tools, then Organize Pages.
6. Drag the certification form to the place you want it – either as first or last page.
7. Click file, and then save as and choose a location and name to save the combined receipts, statement and certification form file (ex. Dec 2021 CET Deans Office procard statement)
Your file is now ready for Adobe Sign processing
Preparing form in Adobe Sign for signatures
1. Open a browser and go to https://secure.echosign.com/public/login
2. Use your full RIT email address at the login screen in the email text box
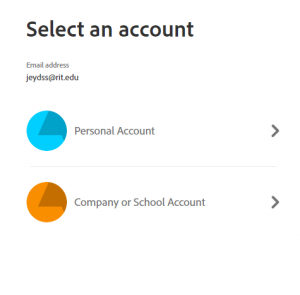
3. You will be taken to the screen below where you choose Company or School account
4. At the next screen RIT Login, put in your rit username (no @rit.edu here) and password and click login.
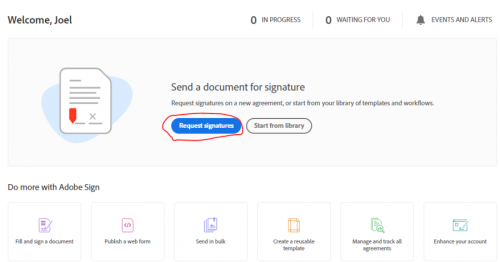
5. Click request signatures
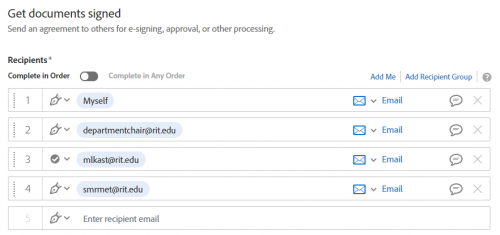
6. Add the people who need to sign and approve. First add your email address, then your department chair. For procard statements that go to Dean Ramkumar as part of the process, please add Michelle Kinch mlkast@rit.edu as an approver third before Dean Ramkumar smrmet@rit.edu fourth. Click the dropdown v next to Michelle's email address to change from "signer" to "approver". A checkmark instead of the pen icon should appear for Michelle.
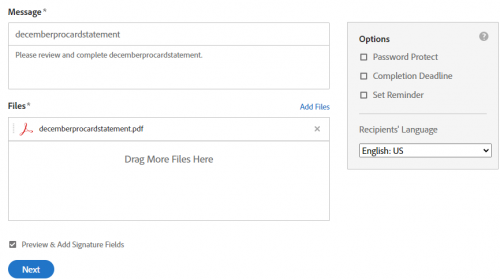
7. Drag the combined file you created in the first part of the process into Files box (or click add file and navigate to the file's location)
8. Change the subject and text of the message box to read what you'd like the email to say. Make sure preview & add signature fields is checked.
9. Click next, and the form will go into processing.
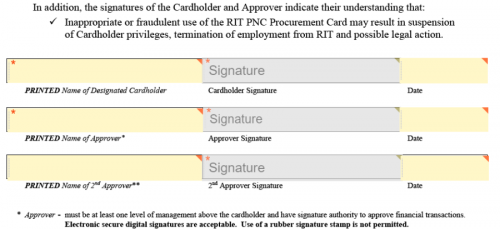
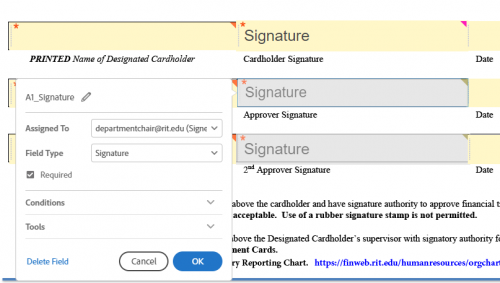
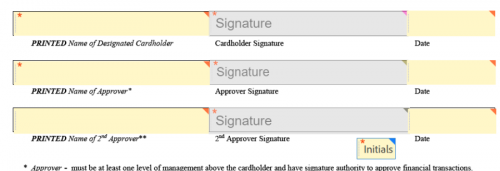
10. The next screen will show you the entire file, scroll to where the certification form is with signature boxes. If you do not need a 2nd approver, you can double click the Printed, Signature, and Date field and choose delete to not include those fields!
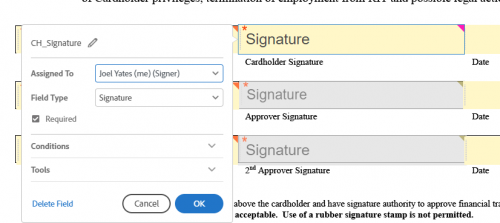
11. Double click the first signature box, and assign it to yourself. Also assign the printed name and date field to yourself!
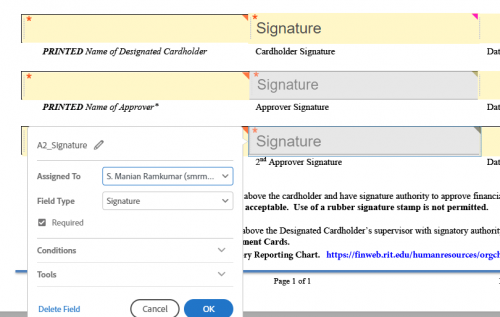
12. Double click the next signature field and assign it to your supervisor or department chair. Also assign the printed name field and date box to the supervisor/department chair!
13. Double click the last signature box and assign it to Dean Ramkumar. Also assign the printed name and date field to Dean Ramkumar!
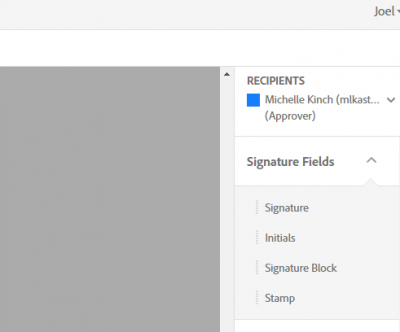
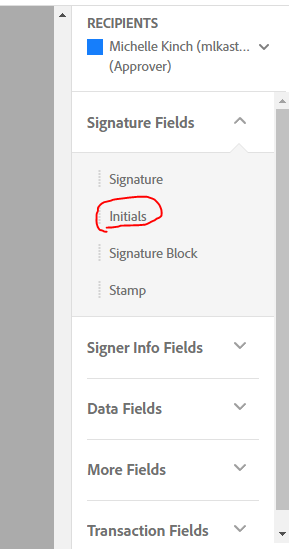
14. Click Recipients on the right, and choose Michelle Kinch(mlkast@rit.edu)
15. With Michelle Selected under Recipients, click and drag Initials from under the Signature Fields to the form under the last signature box.
The color in the upper right corner(blue) should match the color next to Michelle Kinch under recipients.
16. Verify the signature boxes are all assigned to the correct person (colors in upper right corner should match the color assigned to them under Recipients on the right.
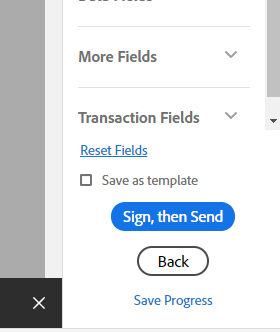
17. Once all looks correct, click sign then send!
You as the originator as well as all signers/approvers will receive an email with the finalized signed document. It will also appear in your Adobe Sign under Manage as either completed or in progress if its waiting on someone to sign. Users who are assigned to sign a form will receive an email and have multiple ways to sign it, they do not need any special software or access granted to be included as a signer on a form and can do some from their phones/tablets/laptops/desktop etc.
